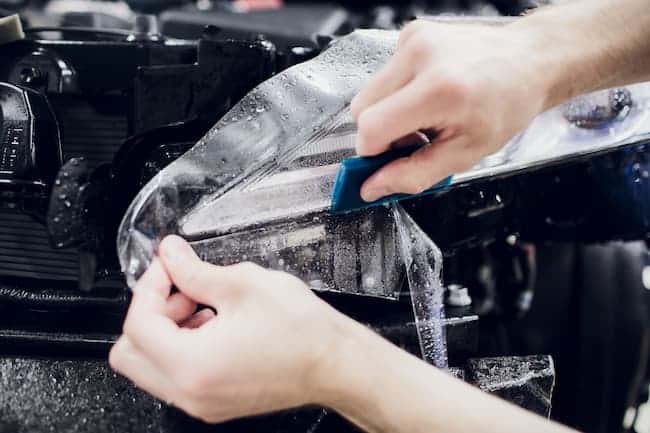
Headlight tinting is just another way of styling the exterior appearance of your car by covering the headlights with a light film to darken the headlights or change their color. However, there are several reasons why you might want to get the tint off your headlights. To avoid harming your headlights, experts advise performing them in a workshop. This article will teach you all you need to know about removing the tint film from your headlights, allowing you to choose the best options for your vehicle.
Why get headlight tint removal

When the warranty period is up, the headlight tint film needs to be put in again (or if the car was used in adverse weather conditions). If you bought the car in a different state and the headlight laws regarding window tinting there differ from those in your own, you would also have to remove it. Or perhaps you want to change the color because you don’t like it. It is strongly advised that you hire a professional to remove the tint to protect your headlights from damage.
A headlight tint film is a protective thin ceramic or other material-based film that is put over the headlights. Also, visibility may be enhanced if the fog lights have a yellow coating. The term “smoking,” which refers to painting or spraying a headlight to change its color and appearance, should not be confused with headlight tinting.
Pros of professional headlight tint removal
- The method is straightforward and affordable, and it will protect your headlights from harm (such as cracks and shattering).
- Preparation of your headlights for installing a new tint will shield your headlights from dings, nicks, road grime, and UV radiation.
- You will save time because the whole process will only take about 20 minutes.
Can you remove the tint film from the headlights

It is possible to remove the tint film, whether you want to replace it with a new one of a different hue or you’ve realized it needs to be replaced since it is too old. Typically, all you need is a heat gun, but occasionally glue residue can be left behind and need special methods like applying a headlight restoration wipe to be removed.
DIY: headlight tint film removal
Things you need include:
- A bottle of oops (6.99)
- Sandpaper (1000k, 1500k, 2000k, and 3000k) (5.49)
- Microfiber towels
- Wax
- Automotive tape
- Water
This process should be carried out in a well-ventilated space.
- Open the bonnet and tape off the surrounding regions to prevent sandpaper nicks in the paint.
- Sectionalized work is the best approach. Spray some oops on a small area, wait for 5 to 10 seconds, and then start rubbing it off.
- Rub the sprayed area with the microfiber towel, taking care not to get any on your paint. Just enough time should pass for the spray to soak in. It would be helpful to have an additional towel on hand to catch any drips and cardboard to prevent any overspray from damaging other auto parts.
- Use the 800-grit sandpaper to begin sanding. Sand for about 20 minutes, making sure to cover the entire surface evenly.
- Dry with a towel to identify the spots you need to reapply the next size too. Continue until you get to 3000k grit.
- Please be careful because sanding off the headlight’s layer will remove a UV protection layer. The best approach is to cover the headlight with an automotive clear lacquer (but this would require removing the headlight).