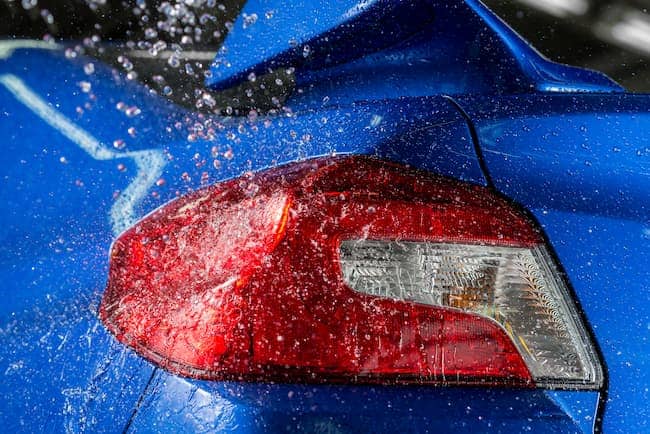
When the sun sets, we use our tail lights to let vehicles behind us know we’re still on the road. However, when those lights don’t function as they should, it can be one of the most unpleasant experiences for a driver. These issues are frequently caused by condensation inside the different light housing.
Although it happens infrequently, condensation or water can get within a tail light. Condensation inside a tail light can quickly wear out the light, burn the bulb, and render the light dysfunctional whether it is due to a damaged seal or a break in the tail light itself. When the seal intended to shield the inner components from the elements fails, condensation or water can accumulate inside tail lights, which is the most frequent cause of water leakage, specifically “tail lights leaking water into trunk”.
When your vehicle’s lights are on during a humid day, the air inside your tail lights heats up and becomes trapped inside the plastic housings. When the outside air cools, the moisture inside your lights condenses into water droplets, which might reduce your night-time visibility. While condensation typically disappears on its own after a few days, you can eliminate it quickly by simply applying heat. Even though this is a temporary solution, the moisture will return if you don’t stop housing leaks and address the root causes. You can clean your tail lights with a little effort!
What are Tail Lights
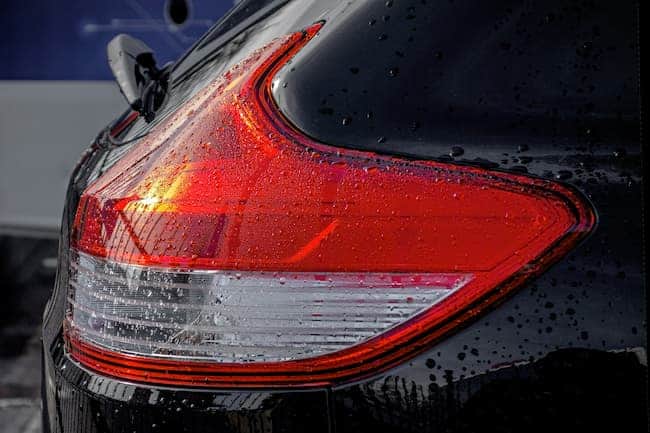
Tail lights are positioned above the bumper on the back of the car. They are red lights next to the white ones that are used to signal when the car is in reverse or brake mode. Tail lights help you drive safely in the dark by alerting other drivers to your presence when you’re on the road. Additionally, once you apply the brakes, the red tail lights shine more brightly, signaling other drivers to do the same.
Preventing Condensation and Making Tail Light Waterproof
- To stop water from leaking in, caulk the seams. To make sure it’s waterproof and won’t interfere with your visibility, use transparent silicone caulk. Hold the nozzle firmly against the clear plastic casing’s edge seam. To apply a bead of caulk around the seam, pull the caulk gun’s trigger. To keep moisture out, use your finger to push the caulk into the seam and let it cure for about 30 minutes. If you don’t wait until the tail light is dry before sealing it, moisture may be trapped inside.
Alternative: If you need to perform a rapid repair, you can also patch cracks or holes in your tail light with silicone caulk. Or else, it’s simple for water to leak into the light. when you are done, you can wipe the taillight lens using restoration wipes to give it a clean and shiny finish. - If the O-ring around the bulb is broken, replace it. On the bulb cap, the O-ring is a spherical rubber gasket that stops water from dripping inside. Unscrew the circular bulb cap on your tail light after removing it from your car. If you see any cracks, inspect the O-ring, and replace it. O-rings are available at car or hardware stores.
- To unclog the vents, spray them with compressed air. Small plastic tubes are typically located around the bottom or top of your tail lights’ backs so that air can circulate in and out of them. Take a pressurized air can and insert the nozzle into the vent of the tail light. Short bursts of pressure applied to the compressed air button will spray any dust or grime lodged inside.
Consider the following;
- If you’re having difficulties finding the vents on your tail lights, consult the owner’s manual for your car.
- Your lights will only be able to release trapped moisture if the vents are blocked.